Rotation Tool

Rotation Tool

The Rotation Tool is for rotating shapes to any angle.

To select the Rotation Tool click its icon in the Toolkit panel, or choose menu option Edit > Select Tool > Rotation Tool (or keyboard shortcut  ⌃R  Control-R).

To select shape(s) ready for rotating:

Selecting shapes

With the Rotation Tool selected, click a shape to select it. If a shape is filled, select it by clicking anywhere it’s filled. If not, you need to click its outline path. Alternatively, drag a selection zone to select all shapes within the zone.

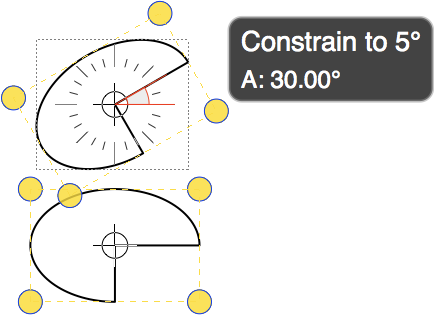
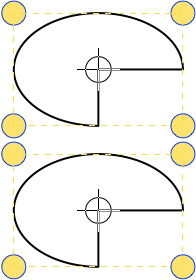
A selected shape is given yellow rotation handles.

Shift-click any shape to add/remove it from the current selection.

Click anywhere off the selected shape(s) to deselect them all.

To rotate shapes:

Rotating shapes

With the Rotation Tool selected, when you hover the mouse over a rotation handle, notice that the mouse pointer changes to an arrowhead icon. With the arrowhead icon displayed, drag to move a rotation handle.

Only the shape under the rotation handle will rotate, even if the current selection includes additional shapes.

Optionally, hold down the Shift key to constrain the rotation to 5 degree increments.

The Center of Rotation is at the mid-point between the shapes four rotation handles, which is marked by a crosshair.

NOTE: The Shape Inspector can also be used to examine or adjust rotation angle - the controls are located on the Size & Location tab.

To move selected shape(s):

4-way arrow icon

With the Rotation Tool selected, when you hover the mouse over selected shape(s), notice that the mouse pointer changes to the 4-way arrow icon (shown right).

With the 4-way arrow icon displayed, drag to move the current selection around the page/spread. The mouse icon will change from the 4-way arrow to a hand whilst dragging.

Related Topics

The Toolkit

The Inspectors