To choose colors:
Select the text or shape to work on and open the relevant Inspector (Stroke Inspector for stroke color, Fill Inspector for solid/gradient fill color(s), Shadow Inspector for shape shadow color, Character Inspector for text color, or Character Inspector (Shadow tab) for text shadow color).
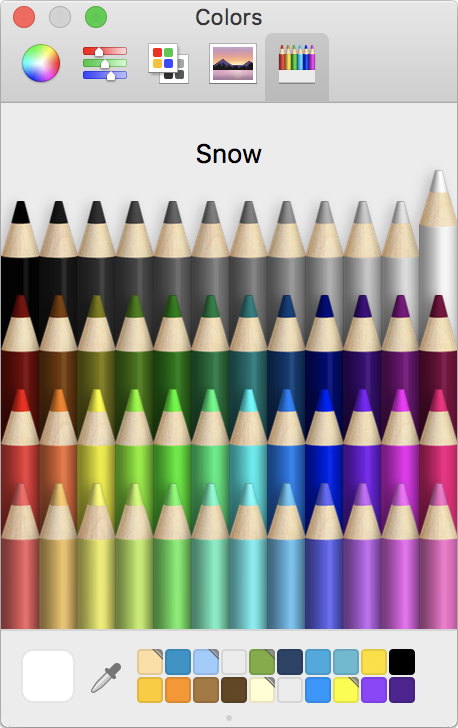
Click an Inspector's color button to open the Color panel (shown in the image to the right).
NOTE: A color can only be chosen from the Color panel when a color button is enabled (denoted by a gray shaded border):
![]()
as opposed to disabled (white shaded border):
![]()
Click a color button to toggle between disabled/enabled.
In the Colors toolbar, click how you want to select a color (color wheel, sliders, palette, image, or crayons).
Depending on what you choose, you may find pop-up menus with more color options. You may also be able to adjust to a more exact color by using sliders or typing values.
Select a color.
TIP: You can make a color selection that matches any color visible on your screen - simply click the color dropper tool (or the magnifying glass tool in some versions of OS X) on the Color panel, then click the color on your screen to sample it. Screen colors sampled in this way will generate a color with an RGB color profile, even if the color is taken from a displayed CMYK color or CMYK image. This is because screens are RGB devices and it’s a sample of the displayed RGB screen color, rather than a sample of the ‘actual’ color.