Use the Fill Inspector to add, edit or remove a shape's color fill; either single color solid fill, or two color gradient fill.
Start by selecting the shape(s) to work with. You can select and work with multiple shapes at the same time.
Select the Fill checkbox to add a default color fill.
If the Fill checkbox shows a dash ![]() , this indicates that the current selection contains at least one shape with an existing color fill and at least one shape with no color fill. To continue editing all of the selected shapes together, click the Fill checkbox to change the dash to a tick. This adds a default color fill to any shape that previously had none.
, this indicates that the current selection contains at least one shape with an existing color fill and at least one shape with no color fill. To continue editing all of the selected shapes together, click the Fill checkbox to change the dash to a tick. This adds a default color fill to any shape that previously had none.
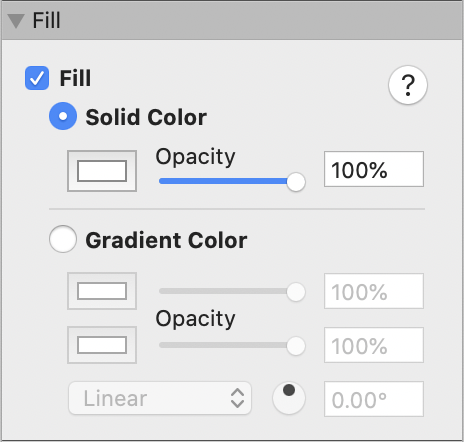
Select the color fill type from the radio buttons marked Solid Color and Gradient Color.
Once a Solid Color fill has been added, controls are provided to adjust:
color
opacity
Or, for Gradient Color fills, you can adjust:
color 1
color 1 opacity
color 2
color 2 opacity
fill gradient type: linear or radial
rotation angle of a linear gradient
To remove an existing color fill from a shape, simply deselect the Fill checkbox.
NOTE: By default, shapes from the Shape Library are drawn with a solid black line stroke and a solid white color fill. Alternatively, if you keep the Command key depressed whilst drawing, you can draw any shape from the Shape Library as a shaped text box, i.e. with no visible line stroke and no color fill.